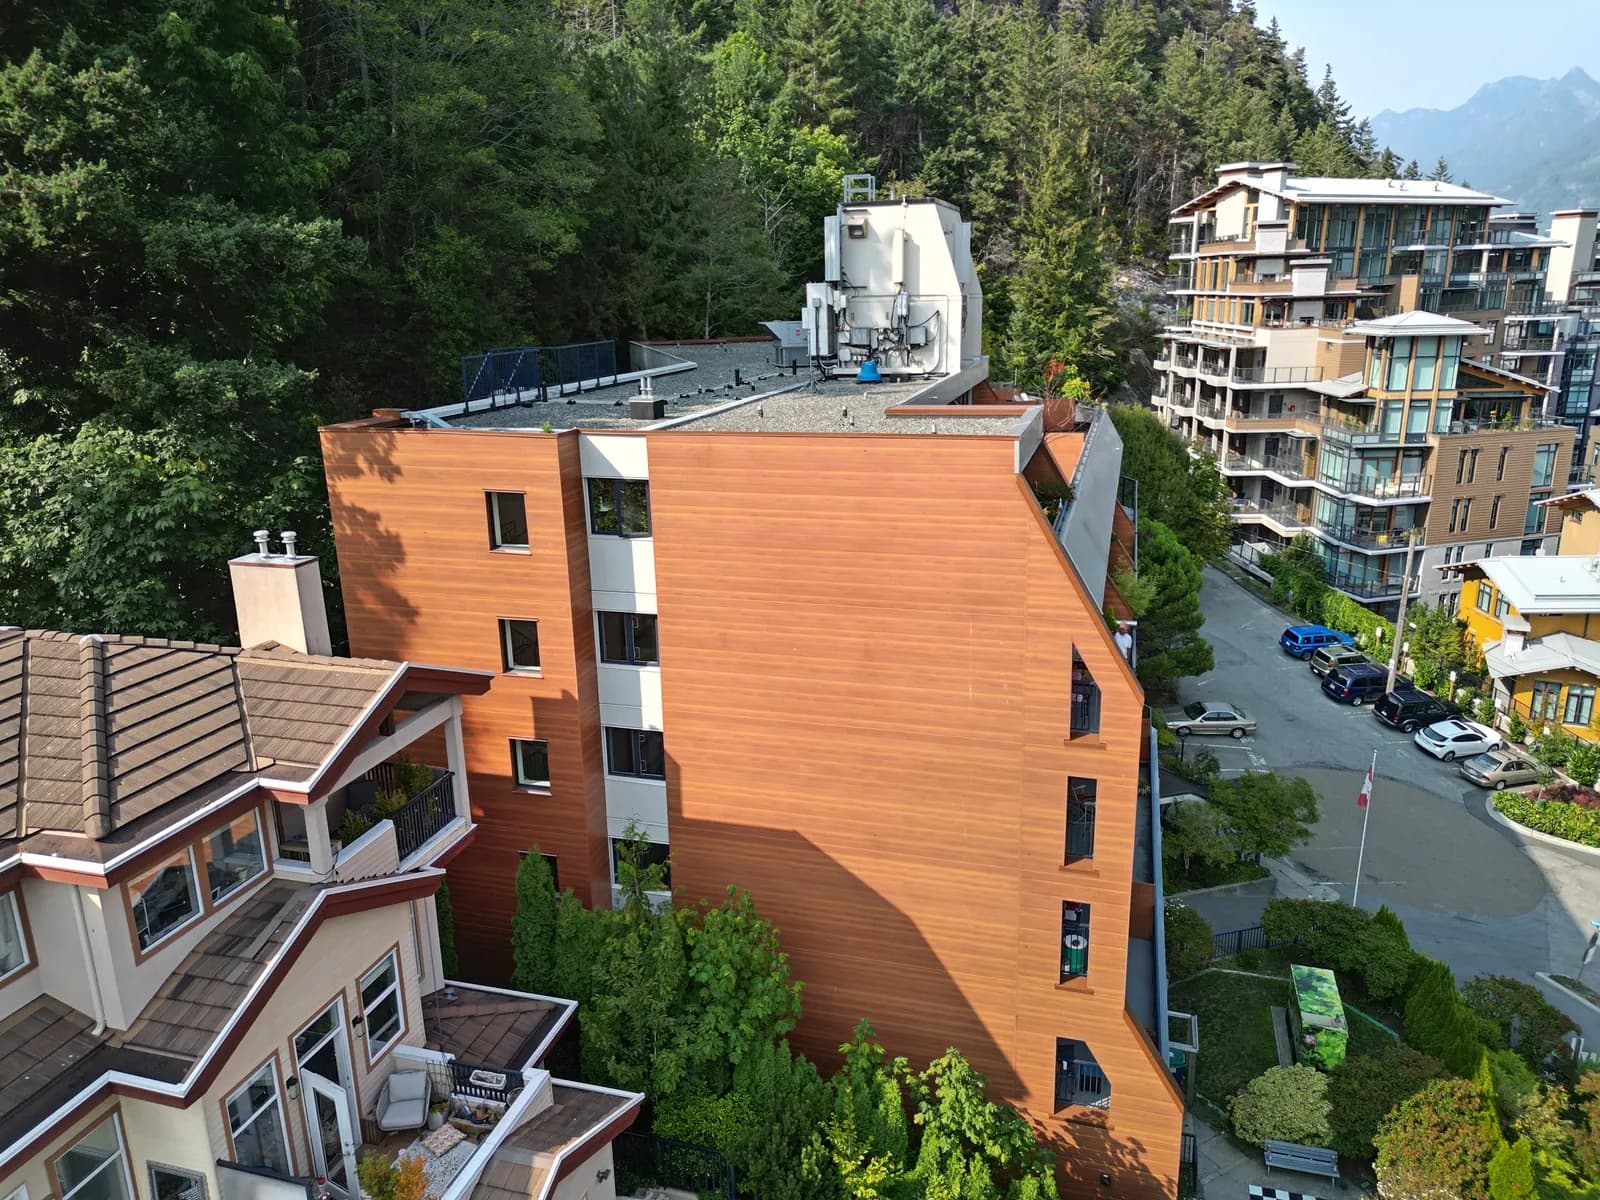
Every fall we get the same phone call. A homeowner has lived in the house for years without a problem, then a November storm comes through on a strong southeast wind and a stain appears under a second-floor window. The wall around the corner, built the same year with the same siding, is bone dry. Nothing changed except the direction of the weather.
That is wind-driven rain at work on an exterior wall in BC. Ordinary rain falls mostly straight down and runs off. Rain carried sideways by a 60 or 80 km/h gust hits the wall with force, piles up on window heads and ledges, and gets pushed into gaps that gravity alone would never reach. Whether a wall leaks depends far less on the cladding than on how much of that rain it catches and what sits behind it.
Why do some exterior walls leak in wind-driven rain and others don't?
Walls leak when three things line up: water on the surface, an opening, and a force pushing water through it. Wind-driven rain supplies the water and the force at the same time. Walls that face the storm, sit high and unsheltered, have small roof overhangs or carry many windows and penetrations take far more water. Walls with a drained rainscreen cavity and properly lapped flashings get rid of it before it reaches the sheathing.
What wind actually does to rain
In Metro Vancouver most of our heavy rain arrives with Pacific frontal systems between October and March, usually on southeast to southwest winds. Vancouver airport records close to 1,200 mm of precipitation a year. Parts of the North Shore get nearly double that, and exposed sites on Vancouver Island and the Sunshine Coast see wind speeds the city rarely does.
Wind changes rain in two ways that matter for a wall.
First, it moves the water. A wall that catches a light misting in calm rain can take several litres per square metre every hour during a gale, and that water concentrates on the top floors, the upper corners and the edges of a building, which is why on a three-storey strata block the top-floor units on the windward side tend to report leaks first.
Second, it creates pressure. Wind pressing on the windward face makes the air outside the wall higher in pressure than the air in the wall cavity or inside the house. At 80 km/h that difference can reach 200 to 300 pascals. It sounds small. It is enough to push water 20 to 30 mm uphill: over the back leg of a flashing, up behind a siding lap, or through a hairline crack at a stucco control joint. A detail designed to shed water by gravity can fail the first time the wind blows hard from the right direction.
That second effect explains most of the "it only leaks in certain storms" complaints we investigate.
Why two similar walls behave so differently
Open a leaking wall, compare it with a dry one on the same house, and the cladding is rarely the difference. What differs comes from a short list.
Exposure. Orientation, height and shelter decide how much rain lands on a wall. A southeast elevation facing open ground or the water takes the brunt of a winter storm. The same wall shielded by a neighbouring building, a stand of cedars or a slope may see a fraction of the water.
Roof overhangs. This is the most cost-effective protection a wall can have, and the one most often designed away. A CMHC survey of building envelope failures in coastal BC from the leaky condo years found that walls under wider overhangs had far fewer problems than walls with little or none. Plenty of flush-eave modern houses and 1990s condos are learning that the hard way.
Interfaces. Most water we trace does not come through the middle of the siding or stucco. It comes in where one thing meets another: window corners and sills, deck-to-wall connections, dryer vents and hose bibs, the line where a lower roof meets a wall. A wall with eight windows and a deck ledger has many more chances to leak than a blank wall of the same size. If the sill pans, head flashings and kickout flashings are missing or lapped the wrong way, wind-driven rain will find them. Our guide to window and door flashing details shows what correct ones look like.
What sits behind the cladding. A face-sealed wall relies on the outer surface and its caulking to stop every drop. It has no second line. A rainscreen wall assumes some water will get past the cladding and gives it a drained, vented gap and a weather-resistive barrier (the wrap you see on buildings under construction) to run down and out. After the leaky condo crisis, rainscreen became standard for new walls in coastal BC, and the BC Building Code calls for a capillary break behind most claddings in our climate. Many houses and buildings from before the late 1990s have neither. If you don't know what is behind yours, a rainscreen gap inspection will tell you.
Drying. Every wall gets wet sometimes. The ones that last dry out between storms. A south wall gets sun and dries in days. A north wall shaded by trees can stay damp all winter, so a small leak there often does more damage over five years than a bigger one on a sunny elevation.
The leak that only appears in a southeast gale
The typical file looks like this. An owner in a 1990s townhouse complex notices staining on the drywall below a bedroom window, but only after two or three particular storms a year. A roofer has already checked the roof. Someone has run a bead of caulking around the window trim. The stain keeps coming back.
When we test the wall, the window unit itself is usually fine. The water gets in at the corner of the rough opening, where there is no sill pan, or above the window where the head flashing has no end dams and dumps water into the stucco beside the frame. Under steady rain the water drains past. Under wind pressure it is driven along the flashing and into the framing.
Finding the entry point takes more than a look:
- Moisture mapping with pin and non-invasive meters, inside and out, to see how far the wetting extends
- Exploratory openings at the suspect spots, so you see the sheathing and flashings rather than the finished surface
- Controlled water testing, working from the bottom of the wall upward, one detail at a time. For windows, a calibrated spray rack combined with a pressure chamber (ASTM E1105 is the common field standard) recreates wind pressure without waiting for the next storm.
One warning: the stain is rarely right under the hole. Water that enters at an upper window head or a deck membrane can travel along a top plate or down a stud bay and show up a floor below, or several feet to one side.
Why more caulking usually makes it worse
The repair we undo most often is extra sealant. Caulking the bottom edge of window trim, the weep screed at the base of stucco or the lower edge of a flashing feels like closing the door on water. In practice it blocks the exit. Any water that does get behind the cladding, and in a coastal storm some always does, now has no way out and sits against the sheathing.
Sealant has a role, but as a secondary seal on a properly lapped detail, not as the main defence. If a leak has been "fixed" with caulking two or three times, the detail underneath is wrong and needs rebuilding.
After a wind-driven rain leak: what happens and when
This kind of damage is usually slow and hidden, but the response still runs on a clock.
First 24 hours. Stop more water getting in. That can mean poly sheeting fastened over the affected part of the windward face, temporary flashing, or a tarp at a damaged roof-to-wall junction. Photograph everything and note the date, time and wind direction of the storm. If drywall or insulation is soaked, start drying it. Call your insurer or, in a strata, the property manager.
First week. Moisture mapping, removal of wet drywall and insulation, and drying equipment where needed. Exploratory openings and water testing to find the entry point. By the end of the week you should know what failed, how far the damage goes and whether the sheathing and framing behind it are sound.
Full repair. For a single elevation on a house, re-flashing the openings, replacing damaged sheathing and reinstating the cladding typically takes two to six weeks on site, plus material lead time. A strata building, or a wall that needs converting to rainscreen, can take several months and is usually planned as a building envelope repair project with an envelope consultant's specification.
How insurance usually treats these leaks
Policies differ, but the pattern in BC is fairly consistent. Sudden damage, such as a storm tearing off siding or part of a roof and rain getting in through the opening, is normally covered. Water that gets in slowly through an existing defect, poor flashing or worn sealant is often treated as gradual seepage or faulty workmanship and excluded. Some policies cover the resulting interior damage while excluding repair of the failed detail itself.
Two other routes are worth checking. Newer homes in BC carry the 2-5-10 home warranty, and its five-year portion covers building envelope defects, including water penetration. In a strata, the strata corporation's policy and bylaws decide who handles the claim and who pays the deductible, so the property manager should be involved from day one.
Whichever route applies, the same evidence helps: dated photos, moisture readings, the storm conditions and a contractor's written description of the failed detail. We prepare that documentation as part of our storm and water damage restoration work, so the adjuster sees the cause and not just the stain.
Fixing the wall, not the symptom
MV Construction has repaired and rebuilt exterior walls across Greater Vancouver and Vancouver Island for more than 10 years. Our crews are fully licensed, WCB-insured and bonded, our workmanship is backed by a written warranty, and we respond to emergency calls 24/7 within Greater Vancouver. We work through the wet season, because that is when wind-driven rain shows exactly where a wall is failing.
If a wall in your house or building leaks only in certain storms, or a caulked repair has not held, call us at (778) 375-5672 or request a written estimate. We will find the entry point, explain what failed and give you a written scope to fix it properly.