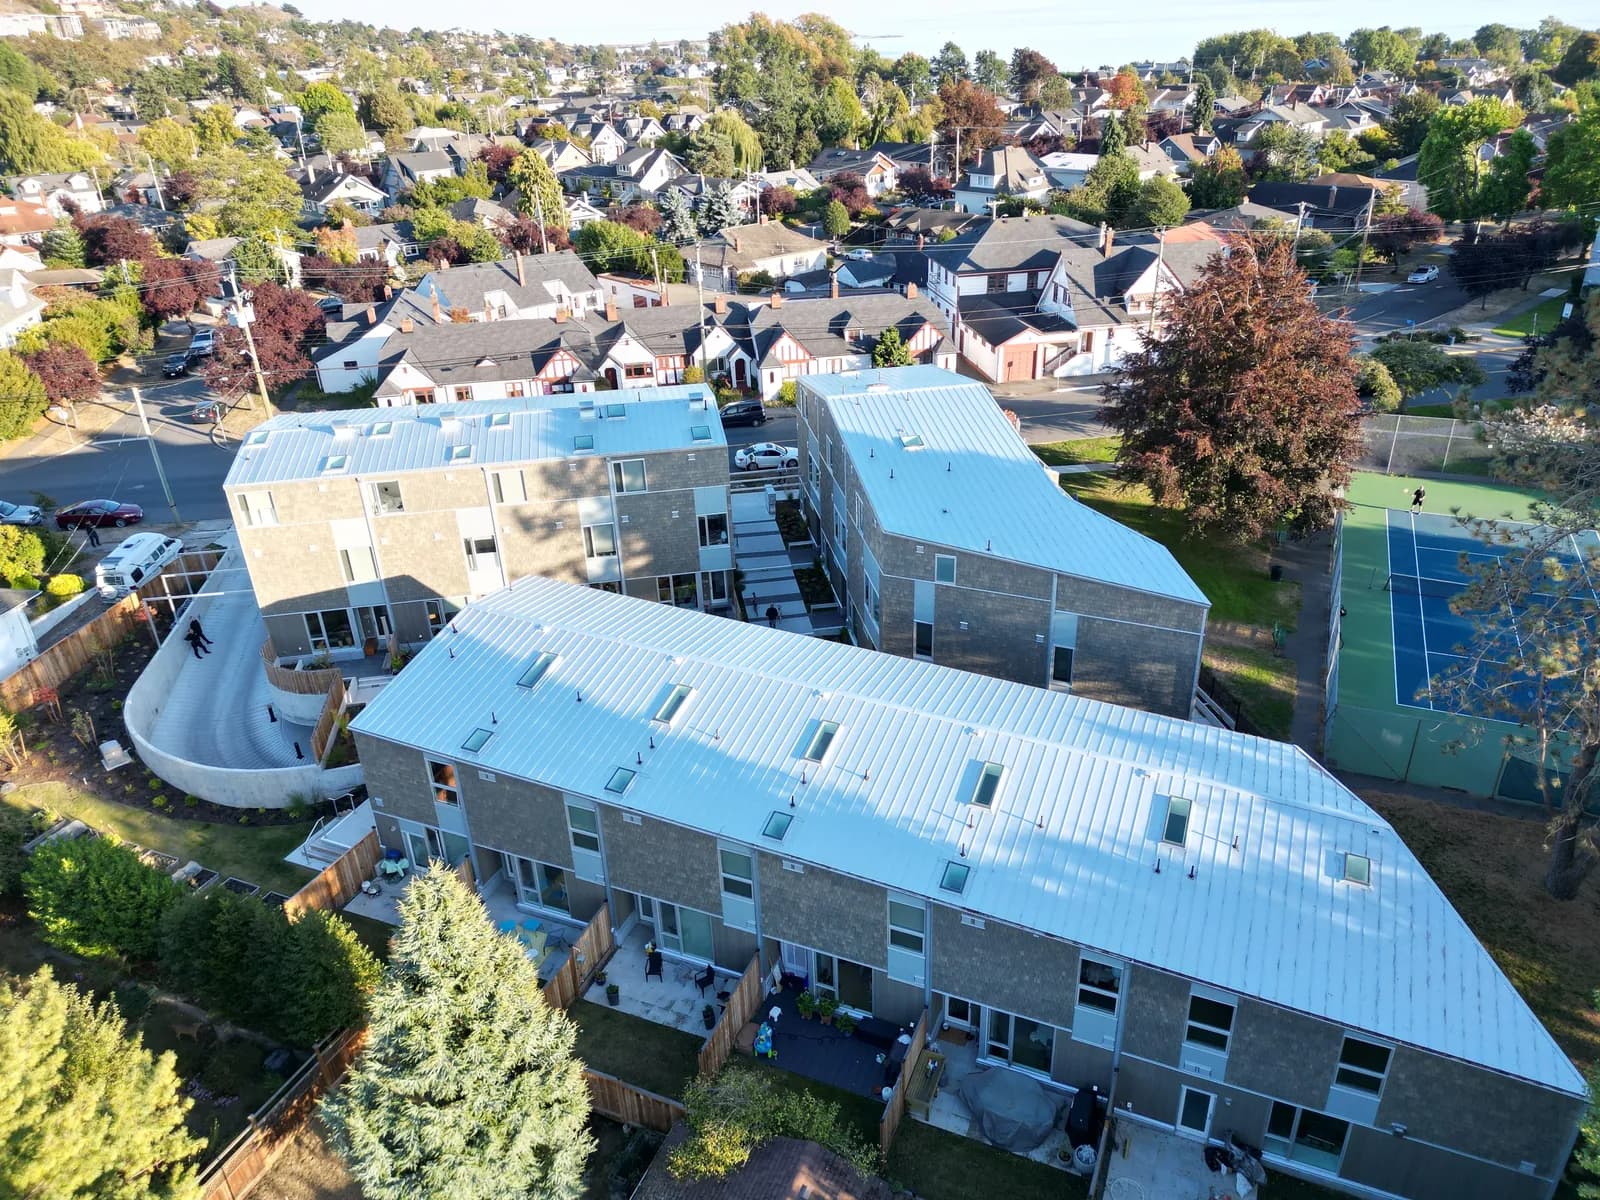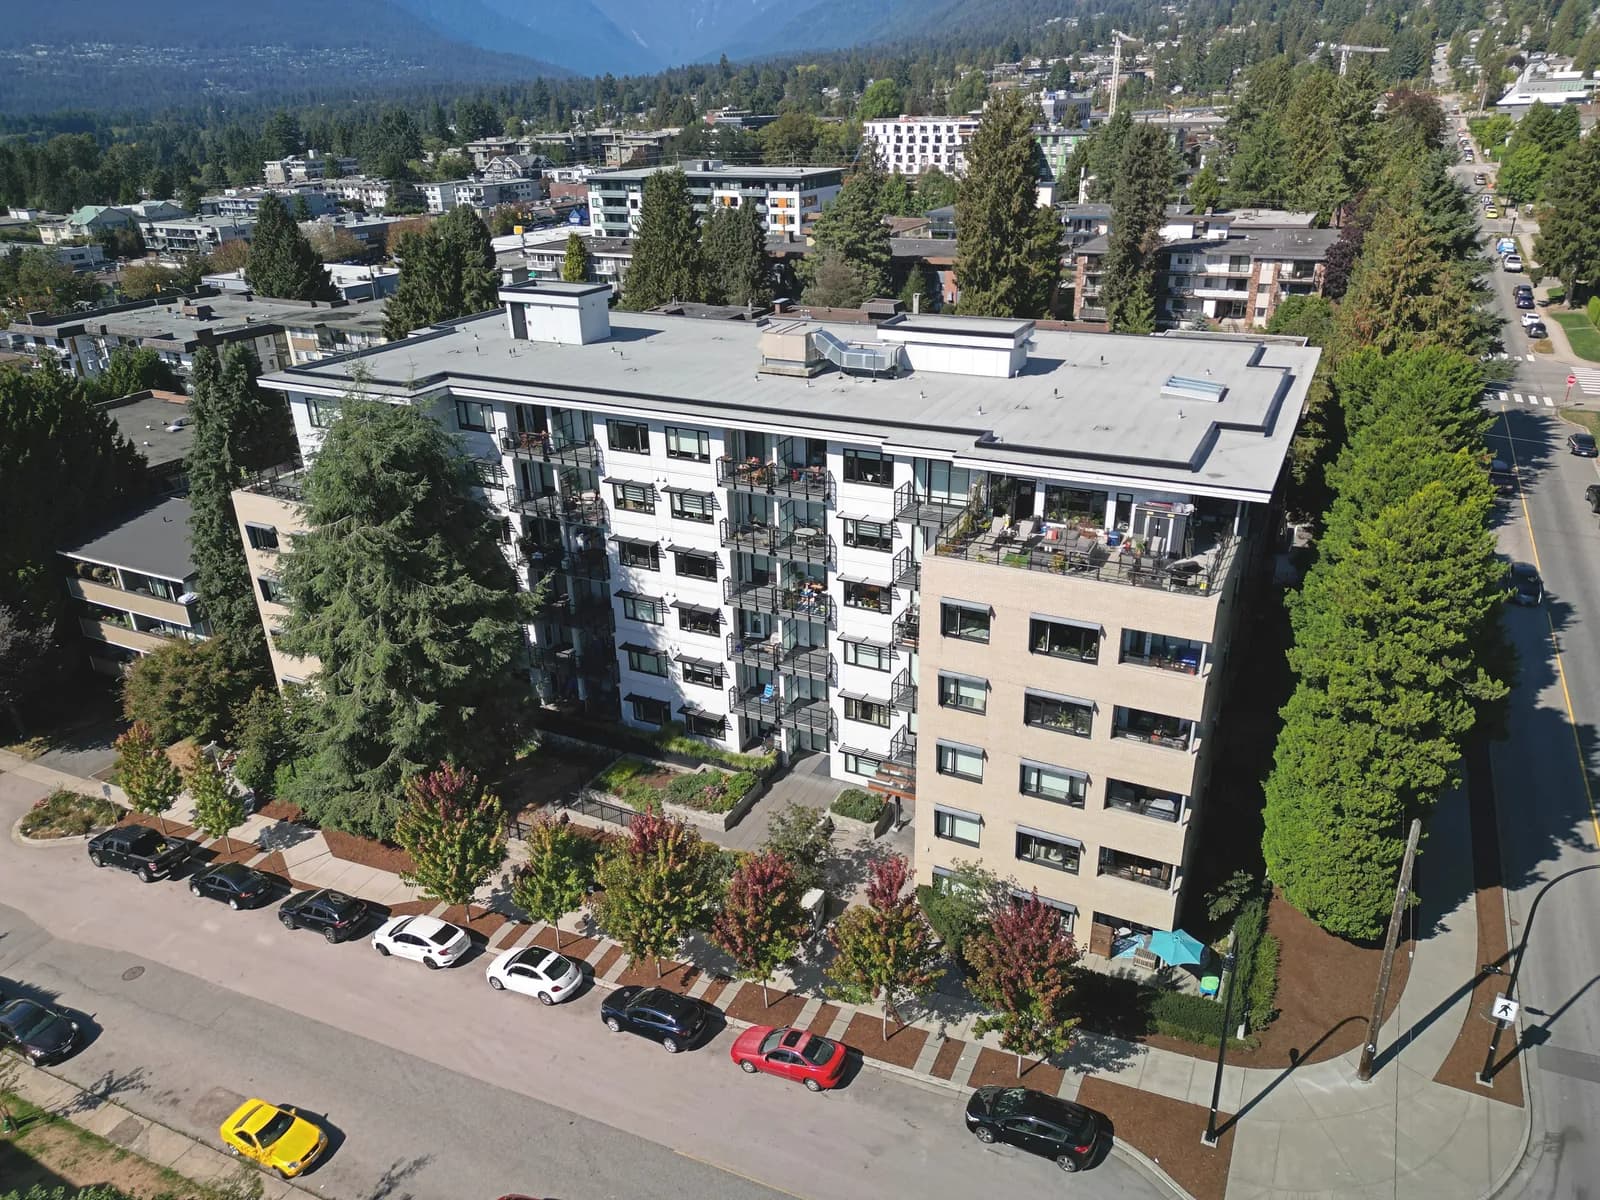
The siding on a 2008 townhouse complex in Burnaby looked close to new when the strata called us. Fiber cement, repainted four years earlier, no cracks, no stains. The bottom 300 mm of plywood sheathing behind it read 32% moisture on a pin meter. A landscaper had raised the planting beds two years before and buried the base of the rainscreen gap in bark mulch, so the water running down the cavity had nowhere to drain. That is the job of a rainscreen inspection in BC: checking the narrow air space between your cladding and the wall, which nobody sees and which does most of the work of keeping a coastal building dry.
From the sidewalk, a wall with a working cavity and a wall with a blocked one look the same. The difference shows up years later as soft sheathing, swollen trim and a repair bill that starts at a few thousand dollars and can end at a full reclad. This guide covers how the gap is supposed to work, the seven places it usually fails, what each inspection method can and cannot tell you, and what the fixes cost in 2026.
What does a rainscreen inspection in BC actually check?
A rainscreen inspection checks whether the drained air gap behind your siding still works. The inspector confirms the gap exists and is clear (10 mm minimum under the BC Building Code, 19 mm on most Lower Mainland walls), that the base vent drains, that flashings over windows, roofs and floor lines lap the right way, and that the sheathing behind reads under about 19% moisture. Visual surveys find symptoms. Exploratory openings confirm them.
How a rainscreen wall is supposed to work
Work from the outside in and a typical BC rainscreen wall has five layers:
- Cladding. Stucco, fiber cement, vinyl, cedar, metal panel or stone veneer.
- The gap. Usually 19 mm pressure-treated strapping fastened vertically over the studs, leaving a continuous air space behind the cladding.
- Sheathing membrane. Building paper or a synthetic housewrap, lapped like shingles so each upper sheet overlaps the one below it.
- Sheathing. Plywood or OSB.
- Framing and insulation.
The idea is that cladding stops most rain but never all of it. Water gets through joints, nail holes and laps, and wind pressure drives it further in. The gap breaks contact between the back of the cladding and the membrane, so water cannot wick inward. It runs down the face of the membrane, drains out a screened vent at the base of the wall, and air moving through the cavity dries what is left.
Rainscreen walls became standard on the south coast after the leaky condo crisis of the 1980s and 1990s, when thousands of face-sealed buildings rotted from the inside. The City of Vancouver began requiring them on new multi-family wood-frame buildings around the turn of the century, and the 2006 BC Building Code made a capillary break the norm for wood-frame walls in high-rainfall regions, which covers the Lower Mainland and most of Vancouver Island.
So a rough rule: a Lower Mainland house built after about 2006, or a multi-family building from the early 2000s on, almost certainly has a rainscreen gap. Older houses usually do not unless they have been reclad. Walls that were never built with one are a different problem, covered in our guide to rainscreen retrofits in BC.
Having a gap is not the same as having one that drains. Most of the inspection is about the second part.
Where rainscreen gaps fail
Across the walls we open in Greater Vancouver, the same seven failures come up again and again. Very few of them are the cladding's fault.
The base vent is blocked
The bottom of a rainscreen wall is left open over a base flashing and covered with a perforated metal or mesh insect screen. Everything that drains down the cavity leaves through that strip. Block it and the bottom of the wall becomes a trough.
The usual causes are soil, mulch, pavers or a new patio raised up to the siding. Most cladding manufacturers want 150 to 200 mm between the bottom of the siding and finished ground, and planting beds creep upward every time someone adds a few bags of soil. Missing insect screens are the next most common cause, because wasps and mice move in and fill the cavity. We also find base vents that a painter or a well-meaning owner caulked shut to "seal the gap."
Strapping runs the wrong way
Vertical strapping leaves a clear drainage path from top to bottom. Vertical siding, such as board-and-batten or some panel systems, needs horizontal nailing support, and when installers run solid horizontal strapping without notches, cross-strapping or a drainage mat, every strap becomes a small dam. We have opened walls with water standing on top of each horizontal strap, three courses high.
The membrane is lapped backwards
Shingle lapping is the whole principle: upper over lower, so water running down always flows onto the outer face of the next layer. The classic mistake is at a window head, where the head flashing goes over the membrane above it instead of tucking under it. Water running down the membrane then steps behind the flashing and into the wall. Our article on window and door flashing details shows the correct sequence.
Floor lines and decks have no deflection flashing
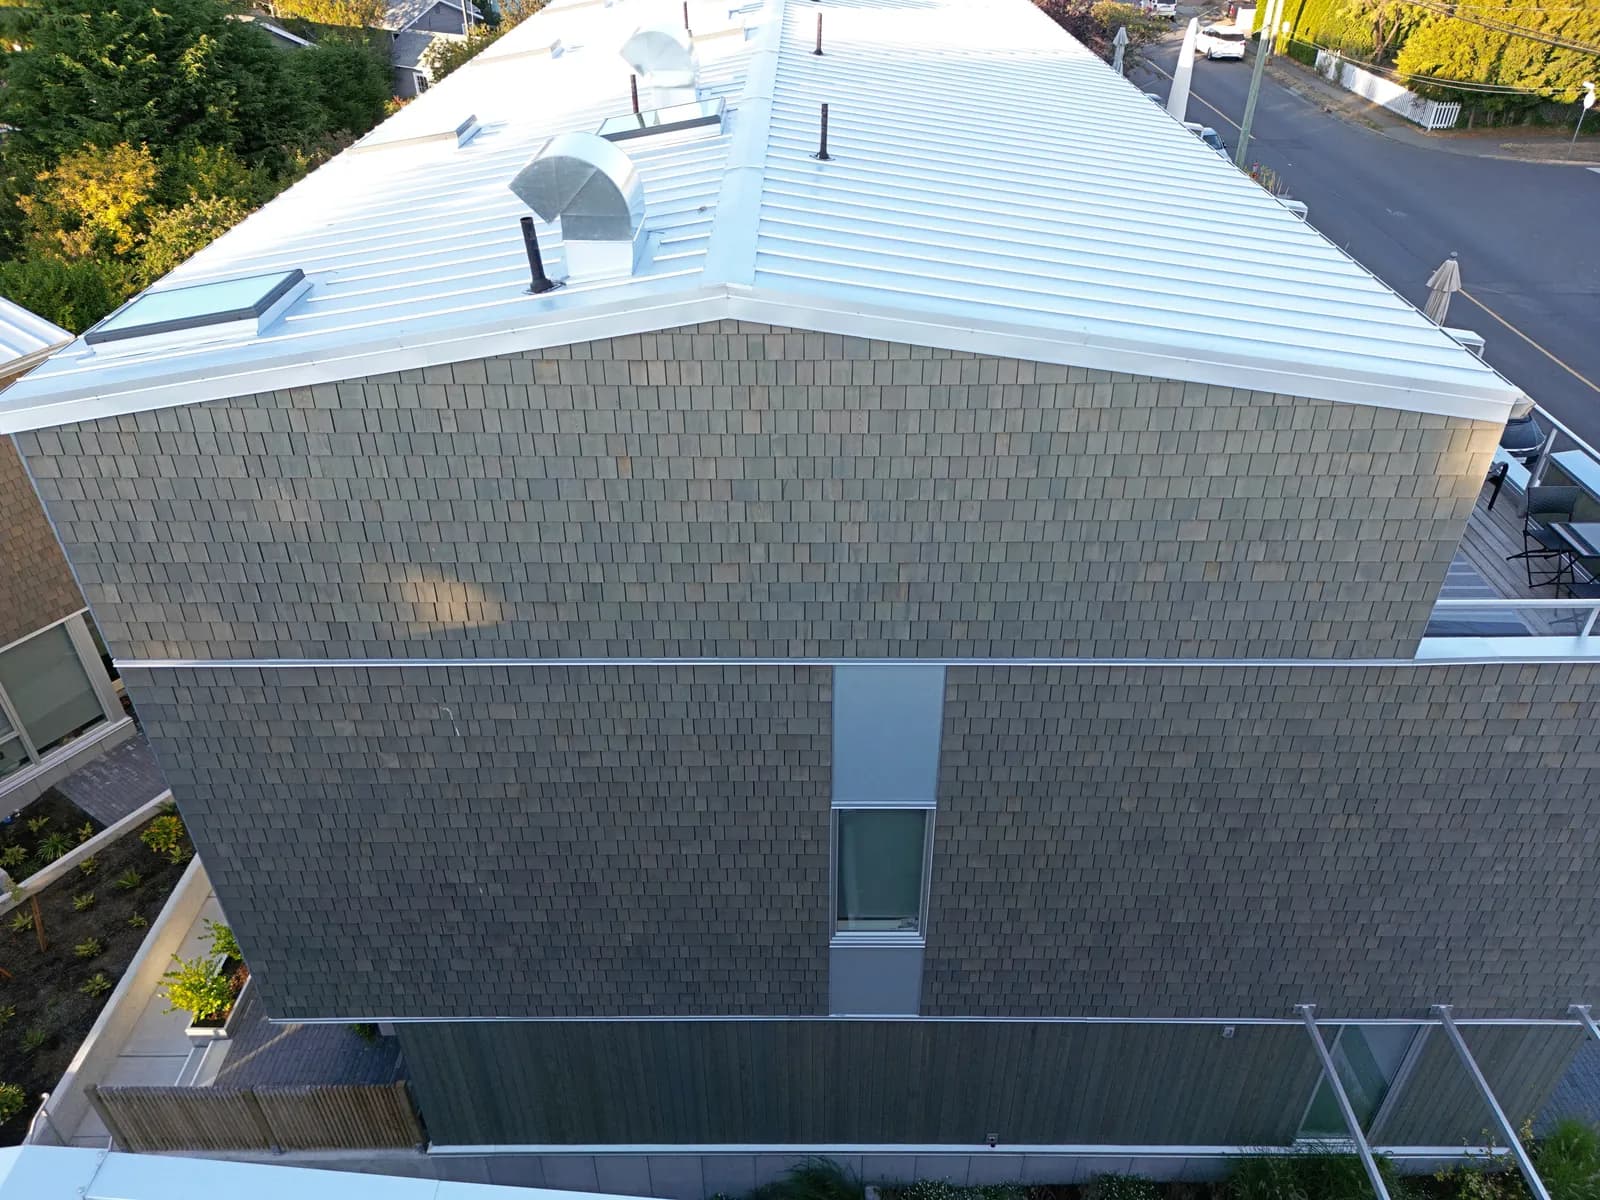
On a three- or four-storey wall, water entering the cavity at the top floor has to travel the full height to drain out. Many BC multi-family designs break the cavity at each floor line with a deflection flashing that kicks water out before it reaches the next storey. The flashings in the photo at the top of this article are that detail. Where they are missing, or where the membrane above is not lapped over them, the bottom floor takes the water of the whole wall. Deck ledgers and balcony connections are the worst version of this, because the ledger sits right in the drainage path.
Roof-wall intersections without kickout flashing
Where a lower roof meets a wall, a kickout flashing at the bottom edge turns the water coming off the roof away from the wall. Without it, roof runoff pours straight into the cladding and the cavity below. A fan-shaped stain or soft sheathing beneath the end of a roof line is one of the most reliable rot findings on BC houses, and it is visible from a ladder.
Penetrations sealed only at the surface
Dryer vents, hose bibs, exterior lights, gas lines and heat pump line sets are often added after the house is built. The installer drills through the cladding, runs a bead of caulking around the outside and leaves. The membrane behind is never patched, so cavity water follows the pipe straight into the wall.
Mortar, stucco or debris bridges the gap
Behind stone veneer, mortar droppings collect at the bottom of the cavity and close the drainage path (our guide to stone veneer failure in BC covers this). With stucco on a rainscreen, the base coat can push through the lath where the backing paper is torn and touch the membrane, which gives water a bridge across the gap. Construction debris, sawdust and insulation offcuts do the same thing in siding cavities.
Inspection methods compared
A rainscreen inspection is not one test. It is a sequence, from methods that cost little and see little to methods that cost more and settle the question. The ranges below are typical Greater Vancouver figures for 2026.
| Method | What it tells you | What it misses | Typical 2026 cost |
|---|---|---|---|
| Visual survey from ground and ladder | Base vent condition, ground clearance, kickouts, flashings, sealant, staining | Anything inside the cavity | Often included in a contractor's site visit; $300-$600 as a written report on a house |
| Surface moisture meter (capacitance) | Rough wet and dry comparison across a wall | Reads the cladding as much as the wall; unreliable on stucco over metal lath | Usually bundled with the survey |
| Infrared thermography | Temperature patterns that may mean wet insulation | Needs roughly a 10°C inside-outside difference; sun and wind create false readings | $400-$900 on a house |
| Borescope through a small drilled hole or vent | Whether the gap exists and is clear, strapping direction, membrane condition | Sheathing moisture; sees a small area only | $150-$300 per location |
| Pin probe readings into the sheathing | Actual wood moisture content at a point | One point at a time; holes must be sealed | $50-$100 per point, usually bundled |
| Exploratory opening | Gap, membrane laps, flashings, sheathing and framing at that spot | Only the spot you open | $400-$800 per opening on a house; $700-$1,400 on a strata building, including patching and access |
| Water testing with a spray rack | Confirms the leak path at one window or detail | Slow, and usually needs an opening to watch the inside | $800-$2,000 per test location |
The pattern is clear once it is laid out. Screening methods tell you where to look. Openings tell you what you have.
That is why we are wary of a thermal imaging report with no openings behind it. An infrared photo shows a cooler patch below a window. It could be wet insulation, a missing batt, an air leak or a shadow from the eaves an hour earlier. It is a picture, not a diagnosis, and recladding a wall on the strength of one is a gamble with someone else's money.
Reading the moisture numbers
Pin meters report wood moisture content as a percentage of the wood's dry weight. Behind a working rainscreen in coastal BC, sheathing sits around 8% to 15% for most of the year and creeps up in winter. Here is how we read the results:
- Under 15%: healthy.
- 15% to 19%: watch it, especially if one area reads well above the rest of the wall.
- Above 19%: mould can grow on wood surfaces and fasteners begin to corrode. Something is feeding water in.
- Sustained above roughly 25%: decay fungi become active, and rot is a matter of time.
- 30% and up: liquid water in the wood. You will usually see it once the wall is open.
The number on its own matters less than the comparison. A wall that reads 14% everywhere except 27% under one window corner has a specific leak, not a failed wall.
Timing changes everything
Here is the counterintuitive part. August is the worst month to measure. A failing wall can dry out over a summer and read 12% in the sun, then go back to 28% after three weeks of November rain. Walls in the Lower Mainland are at their wettest between December and March. A February reading of 14% on a west elevation tells you more than a dozen August readings.
Location matters too. Vancouver International gets about 1,200 mm of rain a year, and parts of the North Shore get close to double that. The elevations facing the storm winds, usually south and west, and the walls with the shortest roof overhangs take most of the wind-driven rain. Upper floors of tall walls take more than lower ones. An inspection plan that samples only the easy ground-floor walls on the sheltered side will miss the problem.
If you need an inspection in summer, for a sale or a warranty deadline, lean on physical evidence over meter readings: staining on the membrane, soft or delaminated sheathing, rusted fasteners, darkened strapping.
What an exploratory opening involves
An opening is the only way to see the gap, the membrane laps and the sheathing at the same time. We place them where water is most likely to collect or enter:
- Below the lower corners of windows, the single most common leak location we find
- At the base of the wall, especially at inside corners
- Under roof-wall intersections
- Beside deck ledgers and balcony connections
- Around penetrations that were added after construction
On lap siding, an opening is usually one or two boards wide, roughly 300 x 300 mm to 600 x 600 mm. We photograph everything before touching it, measure the gap depth, note the strapping direction, check the membrane laps and flashings, take pin readings in the sheathing and push an awl into the sheathing and framing to test for softness. Then we close it up: a new membrane patch lapped correctly into the existing layers, the cladding reinstalled or replaced to match, and paint.
Cladding changes the inspection
- Vinyl and fiber cement lap siding are the easiest. Boards come off and go back on. Vinyl patches are close to invisible; fiber cement needs touch-up paint.
- Cedar opens the same way, but new boards will not match weathered ones until they age or the wall is restained.
- Stucco is the hardest. A cut-and-patch will show unless the panel between control joints gets recoated. Plan openings where a recoat is coming anyway, or accept a visible patch until it is.
- Stone veneer openings are the most expensive, so we usually start with a borescope through a weep or a single removed stone.
Our siding contractor crews handle openings on every one of these claddings, and the report that follows shows a photo of each location with its readings.
What it costs to fix what the inspection finds
Most inspections end in a local repair, not a reclad. These are typical 2026 ranges in Greater Vancouver:
- Restoring base clearance, insect screen and base flashing along one elevation: $1,500 to $4,000 on a house. Most of the cost is removing and reinstalling the bottom courses of siding.
- Adding a missing kickout flashing: $600 to $1,800 per location, including siding removal and reinstallation.
- Rebuilding a window's flashings with the cladding cut back: $2,800 to $4,500 per opening, as covered in our flashing guide.
- Re-membraning and properly sealing a penetration: $250 to $700 each.
- Wet sheathing found behind any of the above: $180 to $350 per sheet to replace, and $400 to $900 per stud bay if the framing is rotten.
- Full reclad over a new rainscreen: $17 to $24 per square foot of wall area for fiber cement on a house, and roughly $18 to $30 on strata buildings, depending on height and scaffold.
The line between those last two is the wet sheathing. If openings show dry sheathing everywhere except a few known leak points, fix the points. If sheathing reads wet across most of an elevation, piecemeal repairs will chase the problem around the wall for years, and a reclad of that elevation is usually the better money. Our article on siding replacement: teardown vs overclad covers that decision.
The mistake we see most often runs the other way. An owner spots one swollen board, replaces it with a new one, repaints, and never asks why it swelled. Two winters later the same corner is soft again, and now the sheathing behind it has gone too.
Strata buildings: time the inspection around the warranty
New homes in BC carry 2-5-10 home warranty coverage: two years on materials and labour, five years on the building envelope, including water penetration, and ten years on structure. For a strata building, that five-year mark is the most expensive date on the calendar. A cavity defect found in year four is usually a warranty claim. The same defect found in year six is a special levy.
Councils of buildings in their third or fourth year should commission a building envelope inspection with openings, scheduled for the wet months, and file any claim well before the coverage ends. Older buildings should tie rainscreen inspection into the depreciation report cycle so the reserve fund reflects what is really behind the cladding, not what it looks like from the parking lot.
Two things make strata inspections worth what they cost. First, sample every elevation and every floor level, not just the ground floor you can reach without a lift. Second, do not trim the number of openings to save a few thousand dollars. Same builder, same crew, same details: a failure on one elevation almost always repeats on the others, and an inspection that missed it costs far more later. Our guide to reading a building envelope consultant report explains how councils can tell a thin sampling plan from a sound one. When the findings point past spot repairs, our building envelope team can price the scope directly from the consultant's report.
Four habits that hide a rainscreen problem
Most rainscreen failures we see on houses under 20 years old were not built in. They were added later by someone trying to help.
- Caulking the bottom of the siding. It looks like a gap that lets bugs in. It is the drain. Seal it and the cavity fills.
- Building the garden up to the wall. Every new layer of mulch and every raised bed edges closer to the base vent. Keep 150 to 200 mm of clearance and the drainage path stays open.
- Pressure washing upward. A jet aimed up under lap siding drives water past the laps, into the cavity and through any weak spot in the membrane. Wash downward, at low pressure.
- Painting over the insect screen. Several coats of paint can close a perforated vent strip almost completely. Painters should mask it.
Our recommendation
For a house built after about 2006 with no visible symptoms, a visual survey every two to three years is enough, plus a look at the base vents and kickout flashings yourself each fall after the leaves come down. You do not need openings on a wall that shows no signs of trouble.
Book a full rainscreen inspection, with at least one opening per elevation and pin readings in the sheathing, if any of these apply: staining or swelling at the bottom of the siding or under windows, peeling paint low on the walls, a musty smell in a closet on an exterior wall, a roof line ending against a wall without a kickout, or a strata building in its third or fourth warranty year. Schedule it between December and March.
Do not pay for a thermal imaging report on its own, and do not approve a reclad on the strength of meter readings without openings to back them up. The inspection that saves money is the one that ends with photos of the actual sheathing.
FAQ
How much does a rainscreen inspection cost in BC? In 2026, a visual survey with a written report runs about $300 to $600 on a house, and many contractors include it in a site visit. Exploratory openings add $400 to $800 each on a house and $700 to $1,400 each on a strata building, including patching. A full building envelope condition assessment for a 30-unit strata runs roughly $12,000 to $30,000.
How often should a rainscreen wall be inspected? A visual check of base vents, flashings and sealant every fall, and a professional survey every two to three years, is enough for a house with no symptoms. Strata buildings should get an envelope inspection with openings before the five-year building envelope warranty ends, then on the depreciation report cycle after that.
Can you inspect a rainscreen without removing siding? Partly. A visual survey, a borescope through a small hole or vent, and pin readings can confirm the gap exists, is clear and whether the sheathing is wet at specific points. They cannot show membrane laps or flashing details. For that, or before any repair decision over a few thousand dollars, you need at least one exploratory opening.
Does stucco in BC have a rainscreen gap? Most stucco on Lower Mainland buildings from the mid-2000s onward is installed over a drained cavity, usually strapping with two layers of building paper and lath. Older stucco is often face-sealed with no gap, which is why it was at the centre of the leaky condo crisis. A borescope or a small opening will tell you which one you have.
Getting eyes on the gap behind your siding
MV Construction has opened, inspected and repaired rainscreen walls across Greater Vancouver and Vancouver Island for more than 10 years. We are fully licensed and WCB-insured, carry liability coverage on every project, and back our craftsmanship with a written warranty. Our inspection reports show a photo and moisture reading for every location we open, and the estimate that follows prices the repair those findings support, with unit rates for anything we can only confirm once the cladding comes off.
If your siding shows any of the signs above, or your strata is approaching the end of its envelope warranty, see the rest of our exterior renovation work and request a fixed-scope estimate online, or call (778) 375-5672 to book a site visit.