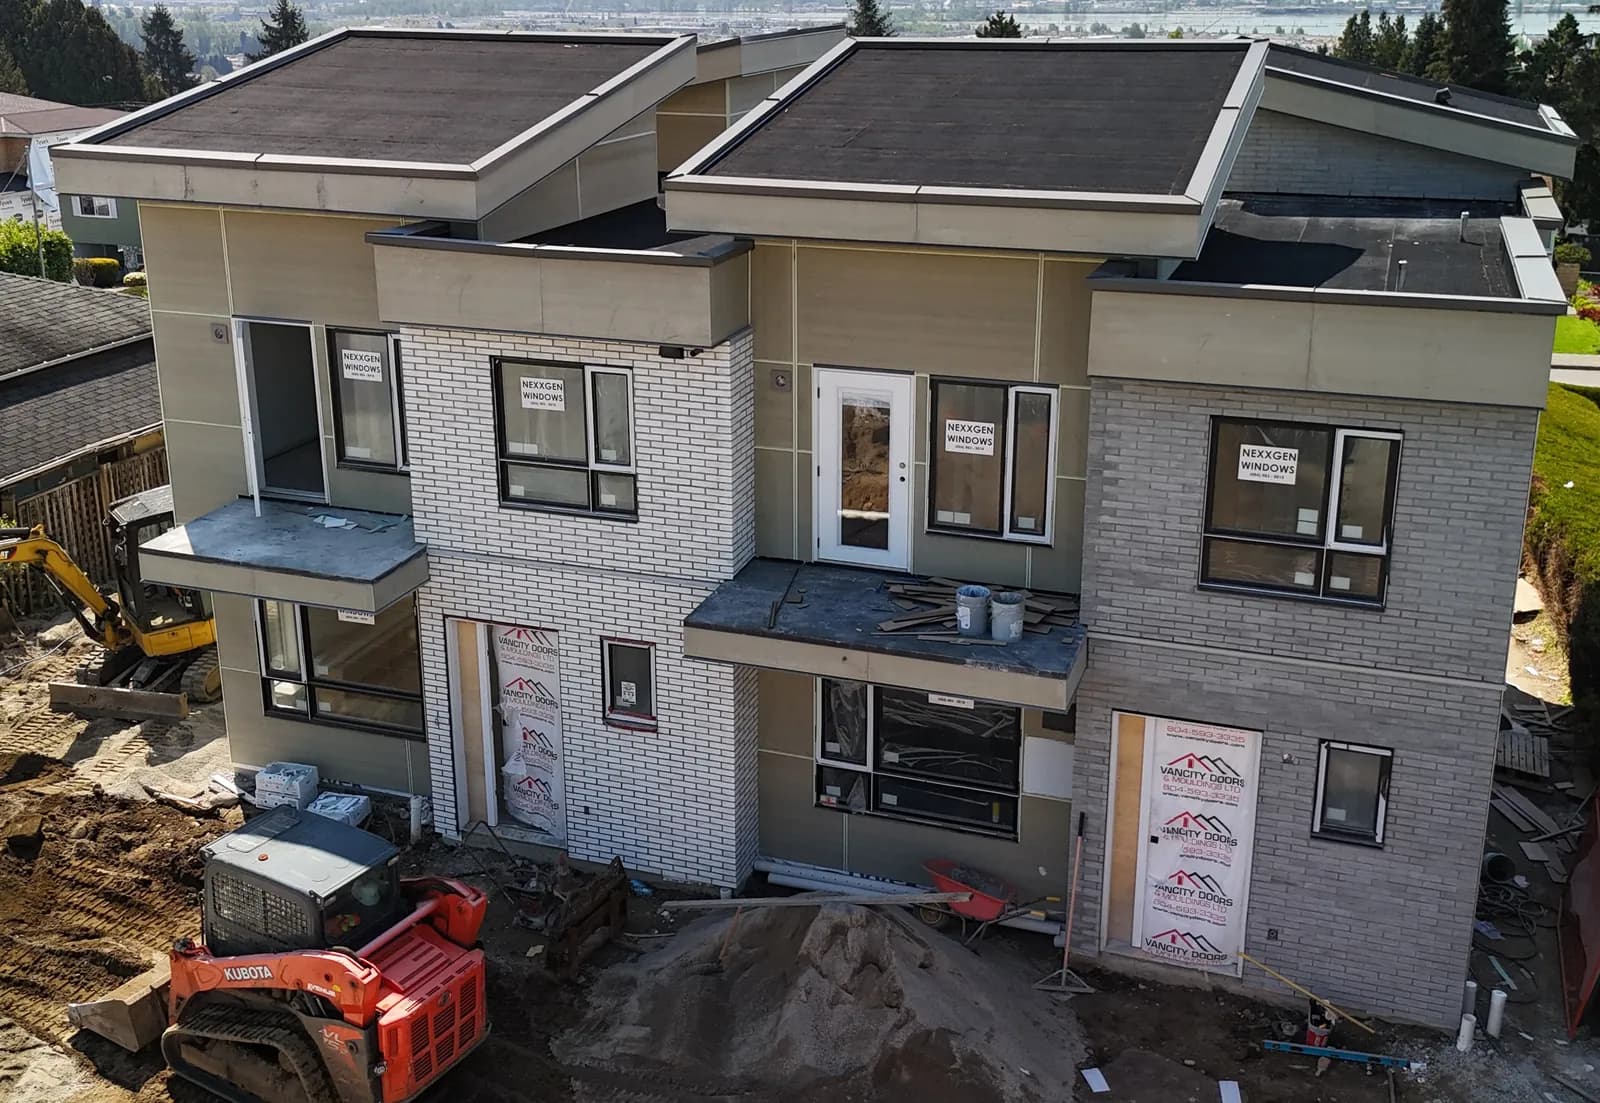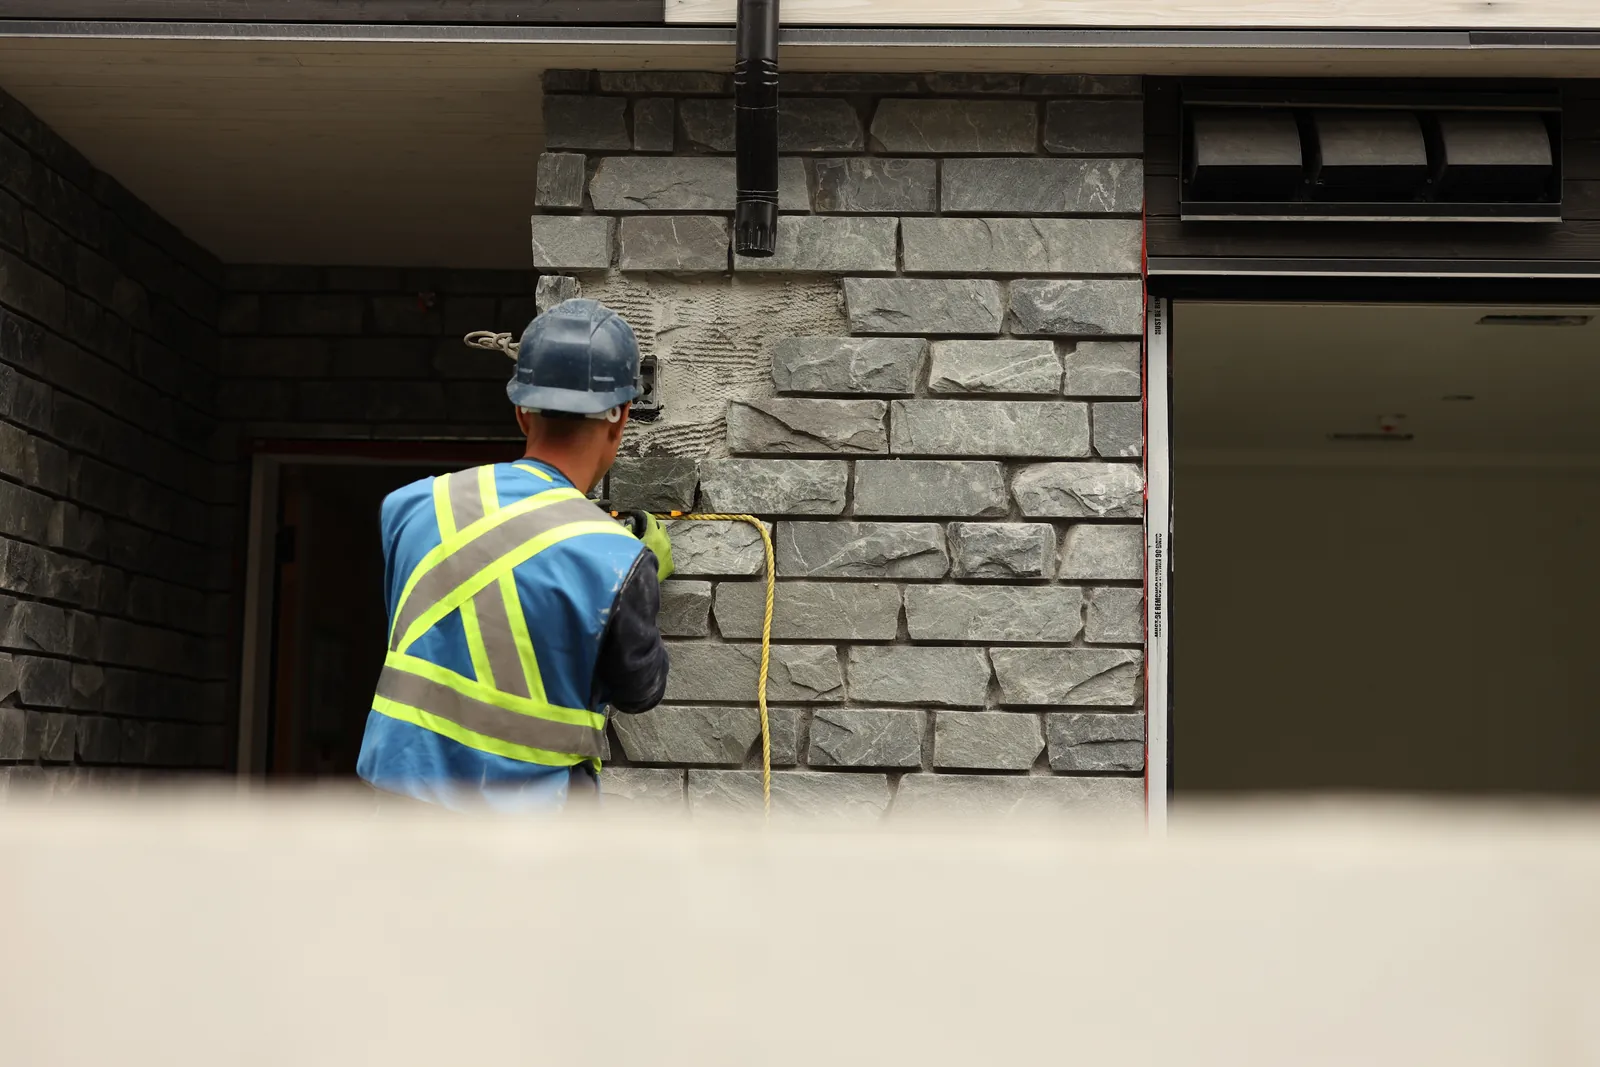
Ask most Vancouver homeowners what installing cultured stone looks like, and they picture a mason pressing stones into mortar while the wall changes colour by the hour. That part is real, and it is satisfying to watch. It is also the last third of the job. By the time the first stone goes on, a good crew has already spent several days on layers you will never see again, and those layers decide whether the wall still looks right in fifteen years.
We have torn off enough failed stone in Greater Vancouver to know where the problems start. Almost none of them start with the stone. They start with a missing drainage gap, a weep screed buried in a garden bed, or a window head with no flashing behind the veneer. This guide walks through installing cultured stone in Vancouver the way the work actually runs on site: what goes on the wall in what order, how long each stage takes, what it costs in 2026, and which details to ask about before you sign.
If you are still choosing between manufactured and natural stone, start with our comparison of cultured stone vs real stone. This article assumes the decision is made and you want to know what happens next.
What does installing cultured stone in Vancouver involve?
Installing cultured stone on a BC wood-frame house involves six stages: weather barrier, a drainage gap or mat, galvanized metal lath, a mortar scratch coat, setting the stone in a mortar bed, and grouting the joints. Flashings and a weep screed are built in along the way. In 2026 most installs run $18 to $32 per square foot, and a 400 sq ft front elevation takes two to three weeks on site.
That is the short answer. The rest of this guide explains why each layer is there, because the reason behind a layer is what tells you whether a crew is cutting it.
Why the wall behind the stone matters more in BC
Cultured stone is a concrete product. It is cast in moulds from cement, lightweight aggregate and iron oxide pigments, and it weighs roughly 8 to 13 pounds per square foot once it is on the wall. Like all concrete and mortar, it absorbs water. On the Lower Mainland and the east coast of Vancouver Island, a stone wall facing south or west can stay damp from October to April.
That water has to go somewhere. On a properly built wall, it moves through the stone and mortar, hits a drainage gap, runs down a water-resistive barrier and leaves at the bottom through a weep screed. On a badly built wall, it soaks into the mortar, sits against the building paper, and eventually finds the sheathing. Oriented strand board that stays wet for a few winters loses its strength and grows mould. The stone on the outside still looks perfect while that happens, which is why failures are usually found late and expensive.
The BC Building Code recognizes this. In most of coastal BC, including Metro Vancouver, the code requires a capillary break (in practice, a drainage cavity or a drainage mat) behind exterior cladding on Part 9 houses. Adhered stone is not exempt. Stone applied straight over building paper with no gap is the most common detail we see on failed walls from the 1990s and early 2000s, and it is the detail we spend the most time removing. Our article on stone veneer failure and drainage goes into what that looks like once the wall is open.
The installation sequence, layer by layer
Here is the order a BC crew should build the wall in, from the sheathing out. Product names and exact thicknesses vary by manufacturer and by the envelope design on your project. The logic does not.
| Stage | What goes on | Why it is there | Typical time on a 400 sq ft elevation |
|---|---|---|---|
| 1. Prep and flashings | Inspect sheathing, install base flashing, window and door head flashings, kick-out flashings at roof lines | Sends water out before it reaches the wall | 1 to 2 days |
| 2. Weather barrier | Two layers of sheathing membrane, lapped shingle-style | Second line of defence behind the stone | 1 day |
| 3. Drainage gap | Drainage mat or furring strips forming a 6 to 10 mm cavity | Capillary break; lets water drain and the wall dry | 1 day |
| 4. Lath and weep screed | Galvanized expanded metal lath fastened into studs; weep screed at the base | Holds the mortar; lets water leave at the bottom | 1 to 2 days |
| 5. Scratch coat | 12 to 19 mm of mortar, scored horizontally | Flat, grippy base for the stone | 1 day, then 24 to 48 hours of curing |
| 6. Setting the stone | Stone back-buttered and pressed into a mortar bed, corners first | The finish you see | 5 to 9 days |
| 7. Grouting and tooling | Joints filled with a grout bag, struck and brushed once firm | Locks stones in, sheds water, sets the look | 2 to 3 days |
| 8. Sealants and cleanup | Sealant at windows, doors and penetrations; site cleanup | Closes the joints stone and mortar cannot | 1 day |
Stage 1: Prep and flashings
Before anything goes on the wall, the crew checks the sheathing. On a new build that takes an hour. On a renovation where old siding or stucco has come off, it can turn up wet or soft patches that need replacing first. We price that as a separate line with a unit rate, so the estimate does not change without a reason you can see.
Flashings go on early because the weather barrier has to lap over them correctly. The ones that matter most on a stone wall are the head flashings over windows and doors, the base flashing where the wall meets the foundation, and kick-out flashings wherever a roof line ends against the stone. A missing kick-out flashing is the single most common cause of rot we find under stone at a garage roof or porch roof junction. It costs very little to install and a lot to fix later.
Stage 2: Weather barrier
Adhered stone sits behind two layers of sheathing membrane, not one. Mortar is wet when it goes on and alkaline while it cures, and a single layer of paper can bond to the scratch coat and lose its ability to shed water. The second layer acts as a slip sheet. Both layers are lapped so water running down the outer face always flows over the next sheet below, never behind it.
Stage 3: The drainage gap
This is the layer that separates a BC install from the details you find in older installation guides written for drier climates. The usual options are a plastic drainage mat with a fabric face, or vertical furring strips with a sheathing board behind the lath. Either way, the goal is a continuous path for water to run down and out.
The mistake to watch for here is mortar bridging. If the scratch coat squeezes through the lath and fills the gap, the gap stops working. Drainage mats with a filter fabric face exist to stop that. On furred walls, the crew needs a backing behind the lath for the same reason.
Stage 4: Lath and weep screed
The lath is galvanized expanded metal, fastened into the studs rather than just into the sheathing. That is the detail that carries the weight of the stone back to the structure. Fasteners into OSB alone are a shortcut that tends to show up years later as bulging or cracked sections.
At the bottom of the wall, a weep screed gives the drainage plane an exit. Manufacturer guidelines typically call for the stone to stop at least 100 mm (4 inches) above soil and about 50 mm (2 inches) above paved surfaces like a driveway or patio. That clearance is the detail landscapers and homeowners undo most often. A new garden bed or a raised patio built up against the stone buries the weep, and water that can no longer get out starts going into the wall instead.
Stage 5: The scratch coat
The scratch coat is a layer of mortar troweled into the lath and scored horizontally with a notched tool while it is still soft. Those grooves give the setting bed something to grip. The coat needs to cure before stone goes on. In a BC autumn that is usually 24 to 48 hours, and longer in cold, damp weeks.
On a poured concrete foundation or concrete block wall that is clean, unpainted and unsealed, the crew can sometimes skip the lath and scratch coat and set stone directly. Painted or sealed masonry needs to be cleaned back to bare surface or lathed over. A water test tells you: if water sprinkled on the surface beads up rather than soaking in, the stone will not bond to it reliably.
Stage 6: Setting the stone
This is the visible part, and it is skilled work. A mason lays out stones on the ground first, mixing pieces from several boxes so colour and size are spread evenly across the wall instead of clustered in patches. Corners go on first, because corner pieces are the most expensive stock and the visual anchor of the pattern. Flats fill in from the corners, working from the bottom up on most profiles.
Each stone is back-buttered with mortar and pressed into a fresh mortar bed on the wall with a slight wiggle, so mortar squeezes out around the edges. That squeeze-out shows the bond is full. A stone that is just stuck on with a dab of mortar in the middle leaves voids, and voids hold water.
A two-person crew typically sets 50 to 90 sq ft a day on a ledgestone or fieldstone profile with a reasonable number of corners and openings. Dry-stack profiles with tight joints are slower, because every stone has to be cut and fitted closely.
Stage 7: Grouting and tooling
On grouted profiles, the joints are filled with a grout bag, much like icing a cake. Once the grout has firmed up enough to hold a thumbprint without smearing, the joints are struck with a tool and brushed. The timing matters. Strike too early and the grout smears onto the stone face. Too late and the joint will not tool cleanly.
Joint style changes the look more than most people expect. A deep raked joint makes each stone read as separate and gives more shadow. A full, flush joint looks more like a traditional mortared wall. Ask to see a sample board in your chosen profile and joint style before work begins.
Stage 8: Sealants and cleanup
Stone and mortar should never butt hard against window frames, door frames or trim. The crew leaves a gap and fills it with a backer rod and sealant, which can move as the building moves. Light fixtures, hose bibs and dryer vents get mounting blocks set into the stone with the same sealant detail around them.
How much does installing cultured stone cost in Vancouver?
In 2026, installed cultured stone in Metro Vancouver typically runs $18 to $32 per square foot, including the rainscreen, lath, scratch coat, stone and grout. Material is roughly a third of that. The rest is labour, and on a stone wall labour is where quality lives.
| Project | Area | Typical 2026 installed cost |
|---|---|---|
| Wainscot band across a front elevation (to about 1 m high) | 80 to 150 sq ft | $3,500 to $6,500 |
| Two entry columns and a porch base | 120 to 200 sq ft | $4,500 to $8,500 |
| Full front elevation on a two-storey house | 350 to 450 sq ft | $7,200 to $14,500 |
| Fireplace chimney chase, exterior | 250 to 400 sq ft | $7,000 to $14,000 plus scaffold |
| Stone accent banding on a low-rise strata building | Varies | $40,000 to $180,000 depending on linear footage |
A few things move a job toward the top of the range:
- Corners. Corner pieces cost about twice what flats cost per square foot of coverage. A house with lots of bump-outs, columns and window returns can push close to a fifth of the wall into corner stock.
- Height. Above the first storey, scaffolding comes in. Expect roughly $3 to $6 per square foot extra from the second floor up.
- Removal. Tearing off old stucco or siding, disposal, and replacing any damaged sheathing are separate costs. On renovation work this is often the line that varies most.
- Profile. Dry-stack and tight-fit profiles cost more in labour than grouted ledgestone or fieldstone.
- Access. A townhouse in the middle of a row with no driveway means every bag of mortar and box of stone moves by hand, which adds time.
Small jobs are less efficient per square foot. A 60 sq ft wainscot still needs the same mobilization, flashings and curing days as a larger wall, so the unit price rises.
How long does the work take?
Plan on two to three weeks for a single elevation on a house, from the first flashing to the final sealant. A full house with stone on several elevations is more often four to six weeks. Strata work runs on a different scale and is usually phased by elevation or building to keep balconies and entries usable.
Weather adds days in BC. Mortar should not be placed when temperatures are expected to drop below about 4°C within the first day or two, and rain on a fresh scratch coat or fresh grout washes out the surface. Through late fall and winter, we tent and tarp walls to keep work going, and the schedule we give you accounts for that from the start.
Permits, strata and the BC Building Code
Whether a permit is needed depends on the municipality and on what else is happening to the wall. Adding a stone wainscot over an existing sound wall is often treated differently from a full re-clad, where cladding and sheathing come off and the envelope is rebuilt. In the City of Vancouver, Burnaby, North Vancouver and most other Lower Mainland municipalities, a re-clad of that scale generally involves a building permit. Your contractor should confirm the requirement with your municipality before work starts and tell you in writing.
If you live in a strata, any change to the exterior almost always needs written approval from the strata council under the bylaws, even if the wall is part of your unit. Bring the council a sample board and a drawing of the flashing and drainage details. Councils that have been through envelope remediation tend to ask about the drainage gap first.
On larger multi-family buildings, cladding work is usually designed and reviewed by a building envelope consultant, and the installer builds to their drawings and field reviews. That is normal and worth welcoming. A second set of eyes on the drainage details costs little next to a failed wall.
The counterintuitive part: pay for the hidden layers
Here is the point we make on most stone estimates. If you have a fixed amount to spend, put it into the layers you cannot see, not into a more expensive stone profile. A mid-priced ledgestone set over a proper rainscreen with correct flashings will outlast a premium profile set over a single layer of paper with no drainage. The difference in the wall behind the stone is often $3 to $5 per square foot. The cost of getting it wrong is usually the whole wall, plus the sheathing behind it.
The same logic applies when comparing estimates. A lower number per square foot often means one of four things is missing: the second layer of membrane, the drainage gap, the kick-out flashings, or proper fastening of the lath into the studs. Ask each contractor to list those four items in writing. If an estimate cannot account for them, it is not a lower-priced version of the same job.
Mistakes we see on cultured stone installs
The same handful of problems shows up again and again when we open failed stone walls around the Lower Mainland and Vancouver Island:
- No drainage gap. Stone and scratch coat sitting directly on building paper. The most common failure, and the most expensive to fix.
- Buried weep screed. Stone run down into soil or a patio, or a garden bed raised against the wall after the install.
- Missing kick-out flashings. Water from a roof edge runs straight into the top of the stone wall.
- Stone hard against windows. Mortar touching window frames with no sealant joint, which cracks as the building moves and lets water in at the most vulnerable spot.
- Spot-bonded stone. A dab of mortar on the back instead of a full bed, which leaves voids and loose stones within a few years.
- Sealing the stone face. Some homeowners apply a water repellent hoping to keep the stone dry. Many sealers trap moisture inside the stone and mortar instead of letting it dry out. If a sealer is used at all, it should be a breathable product the stone manufacturer approves.
What to ask a contractor before you sign
Good questions take ten minutes on site and tell you most of what you need to know:
- What sits between the sheathing and the stone, layer by layer?
- How is the drainage gap formed, and how do you stop mortar from filling it?
- What is the clearance at the bottom of the wall, and where is the weep screed?
- Where will you install kick-out flashings and window head flashings?
- Is the lath fastened into the studs?
- Can I see a sample board with my stone profile and joint style?
- Who does the work: your own crew or a subcontractor? Are they WCB-covered?
- What does the written warranty cover, and for how long?
A contractor who answers these clearly and puts the answers in the estimate is the one to trust with the wall.
FAQ
Can cultured stone be installed over existing stucco? Sometimes, but rarely the right call in coastal BC. Stucco over a wall with no drainage gap traps water, and adding stone on top adds weight and another wet layer. If the stucco is sound and was built on a rainscreen, a lath-and-scratch-coat application may work. In most cases we recommend removing the stucco and building the wall correctly.
How long does cultured stone last? The stone itself typically lasts 50 years or more. Manufacturer warranties often run up to 50 years on the product. The wall's lifespan depends far more on the installation: a correctly drained and flashed install can last as long as the stone, while a poorly built wall can fail in 5 to 10 years.
Can cultured stone be installed in winter in Vancouver? Yes, with weather protection. Mortar needs temperatures above about 4°C during placement and the first day or two of curing, and fresh work must be kept out of the rain. Contractors tent and heat work areas in cold, wet weeks, which adds some cost and time.
Does cultured stone need sealing? Usually not. Most manufacturers do not require it, and the wrong sealer can trap moisture behind the face. If you want a sealer for staining or efflorescence, use only a breathable silane or siloxane product approved by the stone manufacturer.
Is cultured stone heavier than siding? Yes. Adhered cultured stone weighs roughly 8 to 13 pounds per square foot, compared with about 2 to 3 pounds for fiber cement siding. Standard wood-frame walls carry it without extra structure when the lath is fastened into the studs, but full-bed natural stone needs a foundation ledge.
Planning your stone install with MV Construction
MV Construction has installed and repaired stone veneer across Greater Vancouver and Vancouver Island for more than 10 years, on custom homes in West Vancouver and Horseshoe Bay, townhouses in Burnaby and Coquitlam, and multi-family buildings. We are fully licensed and WCB-insured, carry liability coverage on every project, and back our workmanship with a written warranty. Every estimate lists each layer of the wall, so you can see what you are paying for behind the stone and not only on it.
If you are planning stone on a new wall or replacing stone that has started to fail, talk to our masonry and stone veneer team, or see the full range of exterior renovation services we handle. You can request a fixed-scope estimate online or call (778) 375-5672 to book a site visit.