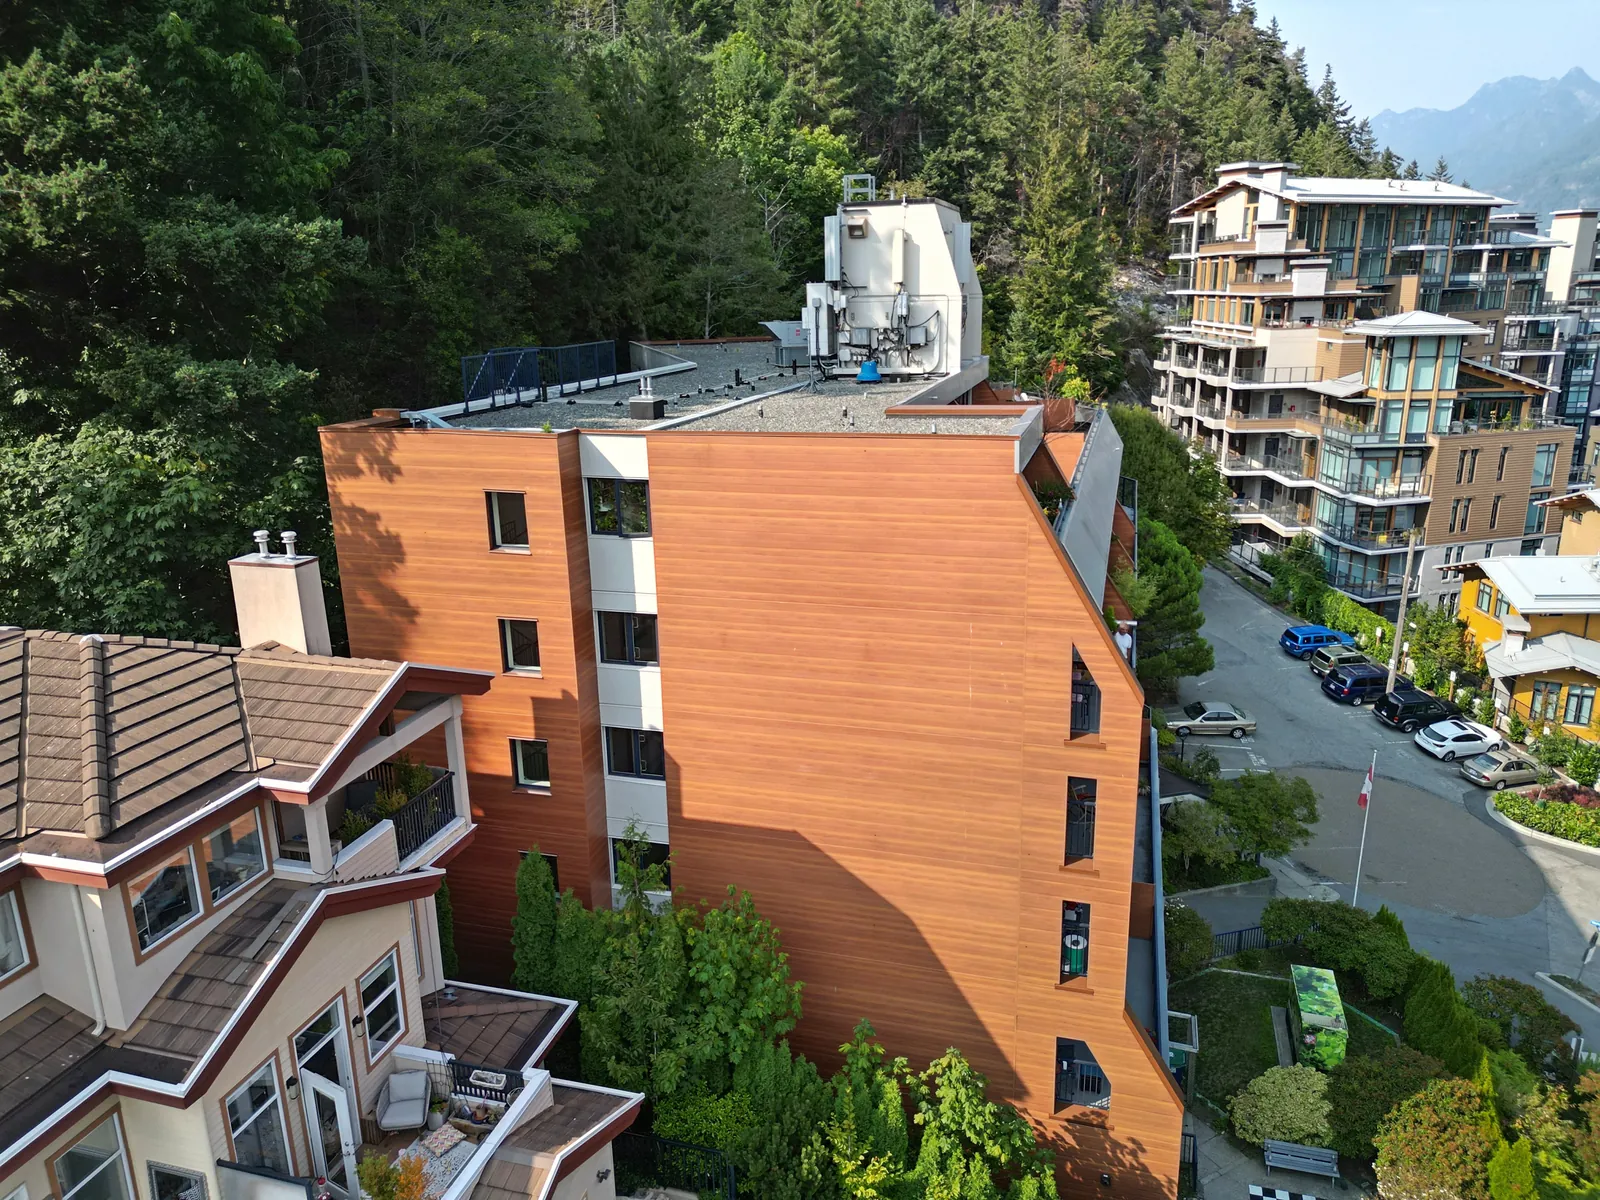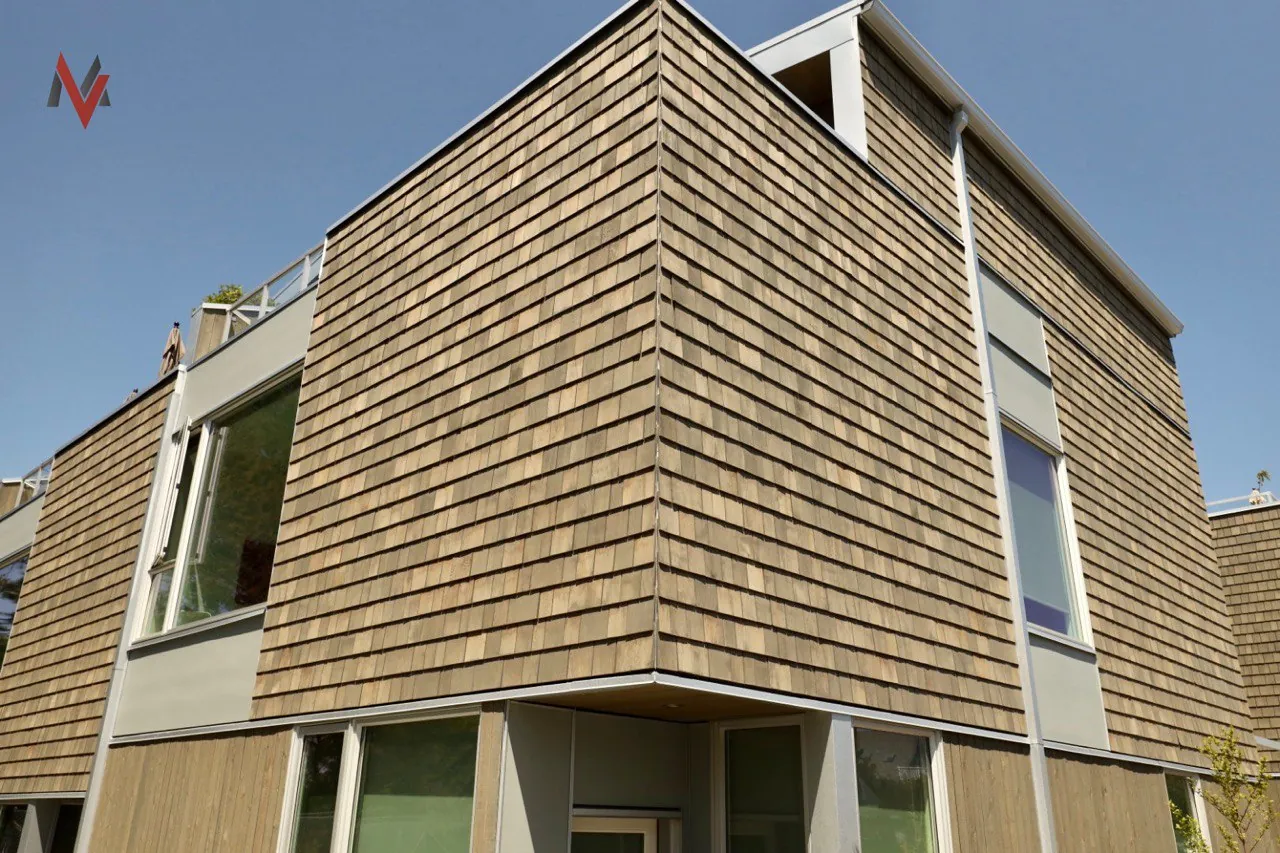
On a low-sun afternoon, the cracks on a 1990s stucco house in Burnaby or Surrey draw a map of the building. A diagonal line climbs from the top corner of the garage door. Another runs from the corner of the living room window up to the soffit. One long horizontal crack crosses the whole front at the second floor, straight enough to have been snapped with a chalk line. Stucco control joints are how a builder decides in advance where those lines go. Nobody decided on this house, so the wall picked its own.
A control joint is a thin strip of zinc or vinyl set into the stucco. It divides a big wall into smaller panels, so the shrinking and moving that every cement wall does ends up in a straight groove instead of a random crack. On a BC wall that stays wet from October to April, where the crack lands decides whether rain gets behind the stucco.
Where should control joints go on a stucco wall?
Control joints go at every floor line of a wood-frame building, off the corners of windows and doors, where the stucco crosses from one substrate to another, and anywhere a panel would otherwise grow past the standard limits: 144 square feet (13.4 m²) of wall, 18 feet (5.5 m) between joints in any direction, and a length no more than 2.5 times the width. Soffits and ceilings use smaller panels, 100 square feet.
Those numbers come from ASTM C1063, the standard for lath and furring under cement plaster that most BC stucco specifications reference. Section 9.28 of the BC Building Code covers stucco materials, lath and clearances, and says little about joint layout. On a house without an architect, the layout is often left to the plasterer. On a fixed-price bid, every joint is extra labour and a line the owner might complain about, so the pressure runs toward fewer joints.
Why stucco walls crack in the first place
Cement stucco is strong when you squeeze it and weak when you pull it. A three-coat wall is a brittle skin about 20 mm thick fastened to a building that never stops moving, and four kinds of movement pull on it at once.
The stucco shrinks as it cures. Most of that happens in the first few weeks, and it is why a brand-new wall can show fine map cracking before the scaffold comes down.
It moves with temperature. A dark west wall can pass 50°C on a July afternoon and drop below freezing in January.
It swells and shrinks with water. Cement stucco soaks up rain, holds it and dries out again, and on the coast it goes through that cycle dozens of times every winter.
The structure moves behind it. Wood framing shrinks as it dries, roughly 6 to 12 mm per floor, most of it across the rim joists and plates. A concrete foundation or podium does not shrink with it. Wherever stucco runs from wood onto concrete, the two halves of the wall pull in different directions.
Stress collects at predictable places: the inside corners around windows and doors, the floor lines, the change from framing to concrete, and the middle of long unbroken runs. A brittle skin relieves that stress by cracking. So a crack is a control joint the wall made for itself, in the place the stress peaked, wandering, and with nothing behind it to keep water out.
The water part is what makes this a BC problem. Many stucco houses and low-rise strata buildings from the 1980s and 1990s are face-sealed, with the stucco sitting directly on building paper and no drainage cavity behind it. On those walls a crack leads straight to the paper, and the paper is the last layer before the sheathing. Rainscreen walls built under the current code drain better, but a crack still lets more water into the cavity than the design assumed. In Langley, Abbotsford and the higher parts of the North Shore, freeze-thaw cycles widen a crack a little more every winter. Our guide to cosmetic versus structural stucco cracking covers how to tell which cracks can wait.
Control joints and expansion joints
The two words get used loosely on site. They do different jobs.
| Joint | What it looks like | What it handles | Where it goes |
|---|---|---|---|
| One-piece control joint | A zinc or vinyl strip with a V or W groove in the middle and a perforated flange on each side | Shrinkage of the stucco and small movement within the wall | Vertical joints at openings, panel divisions on long walls, soffits |
| Two-piece expansion joint | Two separate pieces that slide past each other | Larger movement of the structure itself | Floor lines on wood frame, wood-to-concrete transitions, the building's own structural joints |
| Horizontal drip joint | A joint or drip screed with flashing behind it | Floor-line movement, plus drainage of water collected on the paper above | Floor lines on multi-storey wood frame, window heads on long walls |
A protective tape covers the groove while the plasterer works. It comes off after the finish coat, and the groove has to stay open after that. Stucco smeared across it, a bead of rigid caulk, or three coats of thick paint will lock the two panels together again.
One detail decides whether a control joint works at all: the lath has to be cut behind it. The steel mesh that holds the stucco to the building is cut at the joint and tied to each flange, so the two panels are connected only through the flexible groove. If the lath runs continuous behind the joint, the steel ties both panels together and the joint is decoration. The crack then shows up 50 to 100 mm to one side, along the edge of the flange, which is one of the most common things we see on newer stucco. The building paper behind the joint is the opposite. It stays continuous and lapped shingle style, because the joint is a seam in the cladding and water will find it.
Where stucco control joints go, location by location
Floor lines on wood-frame buildings
A horizontal joint at every floor is the joint that matters most on BC stucco. The 6 to 12 mm of shrinkage per floor comes mostly from the rim joist and plates, a narrow band at each floor line. Stucco run straight across that band in one plane cracks along it within a few years, and the long horizontal crack across the second floor of the house in the opening paragraph is exactly that.
On four- to six-storey wood-frame apartment buildings, common in Burnaby, Surrey and Vancouver since the BC Building Code allowed six storeys in 2009, the shrinkage adds up floor by floor. The floor-line joints have to take it, and the flashing behind them has to drain the water collected on the paper above. Our article on stucco weep screed and lath explains the same drainage detail at the base of the wall.
Windows and doors
The diagonal crack from the corner of a window is the most common crack on BC stucco houses. The corner of an opening is where an L-shaped panel turns, and the stress has nowhere else to go. The usual fix in the design is vertical joints in line with both jambs, running from the window head up to the next joint or the soffit, and from the sill down to the base. That turns the wall around the window into rectangles. On wide openings such as garage doors and patio sliders, a horizontal joint at the head level often goes in too.
Changes in substrate
Stucco over framing and stucco over concrete or block move differently. A joint belongs on the line where they meet: the top of a parged foundation, the edge of a concrete podium under a wood-frame building, a block chimney or firewall running up through a framed wall. Without a joint, a crack follows that line on its own, usually with a jog where it hits a window.
Long walls, gables and odd shapes
A 40-foot side wall with no openings still needs joints, because no panel should run more than 18 feet. Gable ends make triangles, and a long thin triangle breaks the 2.5-to-1 rule at its point. L- and T-shaped panels, common around bay windows and bump-outs, crack at the inside corner unless a joint cuts them into rectangles.
Soffits and ceilings
Overhead stucco hangs from the lath instead of resting on a wall, and it sees different temperatures from the wall below. The panel limit drops to 100 square feet.
The building's own joints
Larger buildings have structural expansion joints designed by the engineer. The stucco has to break on the same line. A stucco panel bridged across a structural joint will crack on that line every year, no matter how often it is patched.
Joint spacing at a glance
| Rule | Imperial | Metric |
|---|---|---|
| Largest wall panel | 144 sq ft | 13.4 m² |
| Largest soffit or ceiling panel | 100 sq ft | 9.3 m² |
| Longest distance between joints | 18 ft | 5.5 m |
| Longest panel side to shortest | 2.5 to 1 | 2.5 to 1 |
| Floor lines on wood frame | Every floor | Every floor |
Here is how that plays out on a typical two-storey front, 40 feet wide and 18 feet tall with the floor line at 9 feet. Without a floor-line joint, three vertical joints still leave panels of 10 by 18 feet, 180 square feet each, over the limit. Add the floor-line joint and the panels drop to 10 by 9 feet, 90 square feet, well inside the limit. Put two windows on each floor and the vertical joints move to line up with the jambs, which usually adds two or three more. A front like that ends up with about 40 feet of horizontal joint and 60 to 90 feet of vertical joint.
Material: zinc, vinyl and what to avoid
Zinc alloy and vinyl are the two materials you will see on BC stucco. Zinc is stiff and holds a straight line on a tall wall. Vinyl does not corrode, costs a little less and is the common choice on houses. Both stand up to salt air in White Rock, Crescent Beach, Steveston or Tsawwassen, which is why we specify one or the other within sight of salt water. Plain galvanized steel accessories rust at cut ends and scratches, and rust stains running down from a joint are a sign the accessory or the lath behind it is going.
The look of the wall, and why fewer joints backfires
Owners and designers often ask for as few joints as possible. Smooth-trowel and modern sand finishes show every line, and a joint can read as a flaw on a clean white wall.
A wall with well-placed joints looks cleaner after five winters than a wall without them. The joint-free wall still divides itself into panels. It does it with cracks that wander, jog around windows and get patched in a slightly different colour each time. A control joint is a straight 6 mm groove that can be lined up with window edges, floor lines and trim, painted to match, and read as part of the design.
The mistake we see owners make is the opposite of the plasterer's. They accept a stucco quote with no joint layout in it and assume the crew will work it out. Ask for a drawing or a marked-up elevation photo showing every joint before the lath goes up. Changing the layout afterwards means cutting stucco.
Reading your own wall for missing or failed joints
A pair of binoculars, a tape measure and a dry afternoon will tell you most of what you need.
- Diagonal cracks from the corners of windows and doors mean the openings have no joints in line with the jambs.
- One long horizontal crack at the second floor means there is no floor-line joint, or the one that is there is bridged.
- A crack running parallel to an existing joint, 50 to 100 mm away, means the lath was left continuous behind the joint.
- A groove filled with stucco, caulk or heavy paint means the joint is locked and will crack beside itself.
- A crack along the top of the foundation or the edge of a concrete podium means a substrate change without a joint.
- Rust stains bleeding from a joint or from cracks near it point to corroding accessories or lath.
- A vertical crack near the middle of a long blank wall is the wall making the joint the layout left out. Measure the panels. Anything over 18 feet in one direction or 144 square feet in area is a panel waiting to crack.
Brown stains, soft spots at the bottom of drywall inside, or cracks that are wider at the bottom than the top are a different conversation. Those walls need probe readings before anyone prices joints, and our guide to stucco moisture testing in BC explains what the survey involves.
Fixing missing control joints on existing stucco
Not every cracked wall needs new joints. Older stucco on framing that finished shrinking decades ago may have cracked once, along the stress lines, and stopped. Routing those cracks, filling them with a flexible compound and recoating the elevation is often the right repair. The test is history. A crack that has been patched twice and reopened on the same line both times is still moving, and a third patch will fail the same way. That crack needs to become a joint.
There are three ways to put a joint into an existing wall.
Retrofit control joint. The crew cuts out a band of stucco about 150 mm wide along a straight line through or beside the crack, checks and repairs the paper underneath, cuts the lath, installs a new zinc or vinyl joint, and rebuilds the stucco on both sides in three coats. This is the durable repair, and it puts a proper joint on the line.
Saw-cut joint. A diamond blade cuts a straight kerf through the stucco and the lath along the crack line, and the cut is filled with backer rod and sealant. It is faster and cheaper. The risk is depth: a blade that goes a few millimetres too far cuts the building paper, and on a face-sealed wall that paper is the only barrier. The sealant also needs replacing every 8 to 12 years.
Floor-line joint retrofit. A horizontal band is cut out at the floor line, and a two-piece joint or drip screed goes in with flashing lapped under the paper above. It costs more per foot because of the flashing work, and it is the repair that stops the long horizontal crack for good.
Any of the three leaves a visible patch line in the finish. Most owners recoat the elevation afterwards, so the new joints and the old stucco read as one wall.
What control joint work costs in BC in 2026
| Work | What it involves | Typical 2026 cost, Metro Vancouver |
|---|---|---|
| Route and seal cracks | Open the crack, flexible filler, retexture and blend | $400 to $1,200 per wall section |
| Saw-cut joint with sealant | Straight cut along the crack line, backer rod, sealant | $25 to $45 per linear foot |
| Retrofit control joint | Cut a 150 mm band, repair paper, cut lath, new joint, three coats | $60 to $120 per linear foot |
| Floor-line joint retrofit | Cut a horizontal band, two-piece joint or drip screed, flashing, three coats | $100 to $200 per linear foot |
| Finish coat over the elevation | New colour coat so the repairs disappear | $5 to $10 per sq ft of wall |
| Scaffold above the first floor | Access for second-storey work | $2 to $4 per sq ft of wall |
| Joints in new stucco or a re-clad | Accessories, cut lath, tying and taping | About $2,000 to $4,000 on a typical two-storey house |
On the 40-by-18-foot front from earlier, with a horizontal crack at the floor line and diagonals at four windows, the numbers look like this: about 40 feet of floor-line joint ($4,000 to $8,000), about 55 feet of vertical joints at the jambs ($3,300 to $6,600), a finish coat over 720 square feet ($3,600 to $7,200) and scaffold ($1,450 to $2,900). The total lands around $12,000 to $25,000. Re-cladding that same face with a new rainscreen wall runs roughly $22,000 to $45,000.
That comparison only holds while the wall behind is sound. Joints control where stucco cracks. They do nothing for rusted lath, rotten sheathing or a wall that is wet at the base. If the readings show a wet wall, the money belongs in a re-clad with the joints designed in from the start.
A written estimate should price the joints per linear foot, the recoat per square foot, access as its own line, and paper damage found under the cut band as a unit rate.
Strata buildings: cracks on the same lines every recoat
Many four-storey wood-frame strata buildings from the 1990s and 2000s in the Lower Mainland show the same pattern: long horizontal cracks at each floor line and diagonals off the balcony doors. The council recoats the building on its maintenance cycle, the cracks get filled and painted, and two or three winters later they are back on the same lines.
Before a strata funds the next recoat, it is worth having the envelope consultant or contractor map the cracks against the joint layout. Where the cracks repeat, the recoat contract should include retrofit joints on those lines. Doing every elevation in one contract costs less per foot than chasing cracks unit by unit. Access, mobilization and colour matching get paid for once. On larger buildings, joint retrofits usually sit inside a wider exterior renovation scope that covers sealants, flashings and balcony details at the same time.
Our recommendation
On a new stucco wall or a re-clad, insist on a joint layout before the lath goes up. Put a horizontal joint at every floor line, vertical joints in line with both jambs of every opening, and a joint at every change in substrate. Keep every panel under 144 square feet, under 18 feet in either direction and no longer than 2.5 times its width. Use zinc or vinyl, have the lath cut behind every joint, and make sure the groove is left open after the finish coat. Then line the joints up with the windows and trim so they become part of how the wall looks.
On an existing wall, look at the history of each crack. Hairlines that have not moved in years get routed, sealed and recoated. A crack that has reopened twice on the same line gets turned into a joint. Rust stains, bulges or soft spots inside mean the wall gets probed before anyone talks about joints.
MV Construction has built and repaired stucco across the Lower Mainland and Vancouver Island for 17+ years. We are fully licensed, WCB-covered and insured, and the work carries our warranty. Every project starts with a free written estimate, and on stucco work that estimate is the place to see where each joint will go. The systems we install are on our stucco and EIFS contractor page.
FAQ
How far apart should control joints be in stucco? No more than 18 feet (5.5 m) apart in either direction, with no wall panel larger than 144 square feet (13.4 m²) and no panel more than 2.5 times as long as it is wide. Soffits and ceilings are limited to 100 square feet. Those figures come from ASTM C1063, which most BC stucco specifications follow. Floor lines on wood-frame buildings get a joint at every level regardless of panel size.
Do control joints stop stucco from cracking? They stop most of the cracking from happening in random places. Stucco still shrinks and moves, so the wall needs somewhere for that movement to go, and a correctly built joint gives it a straight groove. Fine hairline cracks inside a panel are normal on cement stucco and usually harmless. Joints only work if the lath is cut behind them and the groove is left open.
Can control joints be added to existing stucco? Yes. The durable method is to cut a band about 150 mm wide, cut the lath, install a new zinc or vinyl joint and rebuild the stucco on both sides, at about $60 to $120 per linear foot in Metro Vancouver in 2026. A saw-cut joint filled with sealant costs $25 to $45 per foot but needs care not to cut the building paper. Most owners recoat the elevation afterwards to hide the repair lines.
Does EIFS need control joints like cement stucco? EIFS needs expansion joints at floor lines on wood frame, at changes in substrate, where it meets other materials and at the building's structural joints. It does not need the 144-square-foot panel grid of cement stucco, because its finish is thin and the foam board takes up small movement. An acrylic finish applied over cement stucco is different: the cement base underneath still needs the full joint layout.
If the same crack keeps coming back on your stucco, call (778) 375-5672 or request a fixed-scope estimate. We will look at the crack pattern, check the wall behind it where needed, and put the joint layout and the repair in writing before anything is cut.